How to Maintain a Hardwood Floor
Does your home or business feature a beautiful wood floor?
Whether you’ve got a solid hardwood floor or an engineered hardwood floor like laminate flooring or vinyl flooring, you’ll be able to enjoy your floor’s warmth and elegance for many years to come—that is, with proper maintenance.
But do you know how to care for your wood floor properly to keep its elegance?
In this article, we’ll discuss:
- Why wood floor maintenance is important
- How the various seasons affect wood floors
- How to maintain wood floors during seasonal changes
- 7 tips to keep your floor looking beautiful for the long haul
Before we get into the tips, let’s look at why maintenance is important in the first place.
Why wood floor maintenance is important
 A hardwood floor can last many years—even a lifetime—if cared for properly. But that doesn’t mean hardwood floors are indestructible. Pets, people’s shoes, furniture, and toys can scratch and dent them. Ultraviolet radiation from the sun can discolor the finish and even the wood itself. Most importantly, moisture can damage a wood floor. If ignored, moisture can contribute to a variety of costly issues, such as warping, cupping, crowning, or buckling.
Fortunately, with proper care and attention, you can minimize or even prevent many of these kinds of issues. It’s not complicated or burdensome. In a bit, we’ll offer seven important tips for maintaining your floor and preventing these issues.
But first, let’s consider the effect of seasonal changes on a hardwood floor.
How the various seasons affect wood floors
Moisture plays an important role relative to seasonal changes. This is because wood is hygroscopic, meaning that it absorbs and releases moisture in response to conditions in the surrounding environment.
Higher relative humidity levels, typical during the summer months, can cause wood floors to expand as they absorb moisture.
The opposite typically occurs during winter.
As the relative humidity drops, wood floors release moisture. This can cause the floorboards to shrink and leave visible gaps between the boards. The wider the planks, the greater the shrinkage effect and the more noticeable these gaps will be.
How to maintain wood floors during the seasonal changes
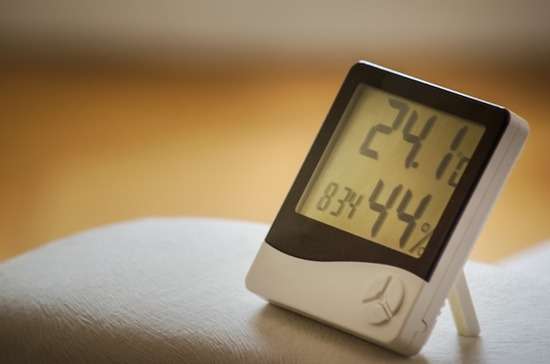 Since moisture is the key factor behind floorboards expanding and shrinking, you can easily minimize this seasonal effect by regulating moisture levels in your home or business.
How?
Use a humidifier in the winter and a dehumidifier in the summer. A good rule of thumb is to maintain a consistent year-round humidity between about 35% and 55%. Keeping the inside environment within this range will generally minimize the wood’s tendency to shrink and expand with the changing seasons.
While heaters or air conditioners help with the temperature in the home, they do not necessarily increase or decrease the humidity, although central heating can.
The floor’s manufacturer usually recommends a specific temperature and humidity range for the floor. Follow these recommendations and set your thermostat and dehumidifier/humidifier accordingly.
7 general tips for maintaining your wood floor
Let’s explore several handy tips for keeping your wood floor looking beautiful year in and year out.
1. Clean up spills immediately
 We can’t emphasize this enough. Water is the number-one enemy of wood floors. If a spill occurs, don’t ignore it. Take care of it immediately. No other action step will do more to ensure the longevity of your wood floor than this one.
Use an absorbent towel to wipe up the spill. If the liquid leaves a stain, use a wax or gentle detergent cleaning solution to clean it out. Wipe and dry it with a damp cloth.
2. Remove items that tend to leave water on the floor
Do you have pets? Think about where your pet’s water dish should go. It should never be placed on wood. Instead, think tile, vinyl, or some other floor material that can better withstand moisture.
The same goes for potted plants if you want to avoid water stains. If it’s unavoidable, you can put a protective layer between the wood floor and the potted plant or water dish.
What about rooms where water will inevitably land on the floor, such as entryways, kitchens, or bathrooms?
Keeping mats on the floor to absorb drips and small puddles will help cut down on the amount of water that actually touches the floor. Mats will also catch dirt getting tracked in the house or grease dripping from a dirty dish.
But mats and towels won’t catch everything. This is when vigilance is key. If it’s winter and the children are out playing in the snow, keep a clean cloth by the door and be ready to wipe up globs of melting snow and bits of ice that will accompany boots and young children tromping inside.
For bathrooms, wipe up water drips after finishing a shower or bath. And in kitchens, wipe up water from the sink, dishwasher, or stove as soon as you find it.
3. Use furniture pads, floor mats, and a “no shoes” policy to prevent scratches
This one is simple to implement. Place door mats inside and outside exterior doors. This will minimize how much grime, dirt, and moisture get inside.
Install felt pads on all chair legs and brush the pads frequently. Otherwise, they’ll collect grit, like pet hair, bits of food, or other little pieces of things, and end up doing your floor more harm than good.
In rooms where children’s toys are used, consider laying down an area rug to keep the floor from scratches and scuffs.
4. Sweep or dust your floor frequently and vacuum weekly
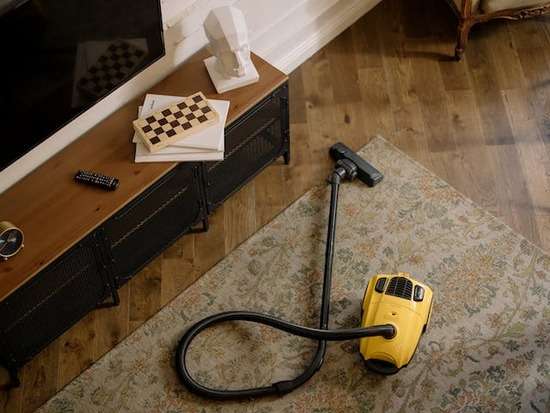 How often you give your floor a regular cleaning will depend on the size of your family and how often you’re using the floor. To get all the obvious dirt away, sweep or use a microfiber dust mop on the floor every day or every other day, depending on the traffic volume for that room.
Once a week, you’ll want to hit all the floors with a good vacuuming or thorough sweeping. You don’t have to have any fancy equipment—you can use a dry mop like a Swiffer, or a regular vacuum cleaner.
But a thorough cleaning—getting in all the corners and every room—will get all the unwanted goodies off your floors and out of the house. (This will help prevent scratching over time, too.)
If you see any spots that are sticky or exceptionally dirty, you can also spot clean with a wet mop. However, if you do mop, be careful to avoid soaking the floor. Standing water, as we’ve mentioned, is not good for a hardwood floor. Use enough water to get the floor cleaned, but no more than that.
You also want to use just water to clean, as a deep clean isn’t usually necessary every week. We’ll talk more about cleaners in the next section.
5. Clean the floor monthly
A deep clean once a month will return luster to your floor’s finish.
But there are so many cleaning products and processes out there for eliminating that gunk and buildup. How do you know which one is okay?
Here are a few things we recommend to keep in mind when deep cleaning hardwood floors.
As far as mopping goes, damp mops and wet mops are good, but as we already emphasized, don’t get the floors wetter than you have to.
Steam mops are a controversial hardwood floor cleaner. The heat and moisture can severely damage solid or engineered wood. Some companies say that sealed floors are fine to steam clean, but even then they advise caution. So probably the best option is to avoid steam cleaning altogether.
Scrubbing wood floors works well to get the grime out, but avoid abrasive materials like steel wool, as the bristles will scratch the finish off. Instead, go for a damp, soft sponge or a fine towel.
What about cleaners? Which is the best hardwood floor spray, wipe, etc.?
In general, look for non-toxic, wood-friendly cleaners. Bona makes a wide array of hardwood floor cleaners. Murphy’s is a long-time classic, and if you’re looking for a more natural, pet- and child-safe cleaner, Aunt Fannie’s is something to try.
Cleaners to avoid are baking soda, lemon juice, and vinegar. While natural and good for cleaning many other materials, these cleaners can scratch the floor or take the finish off. Also steer clear of ammonia and glass cleaner for your hardwood floors.
If you’re ever unsure about a cleaner, simply try a little bit of it in an inconspicuous place first. That way, if it doesn’t turn out to be a suitable cleaner, your whole floor won’t be ruined before you find out.
6. Prevent damage from the sun’s rays
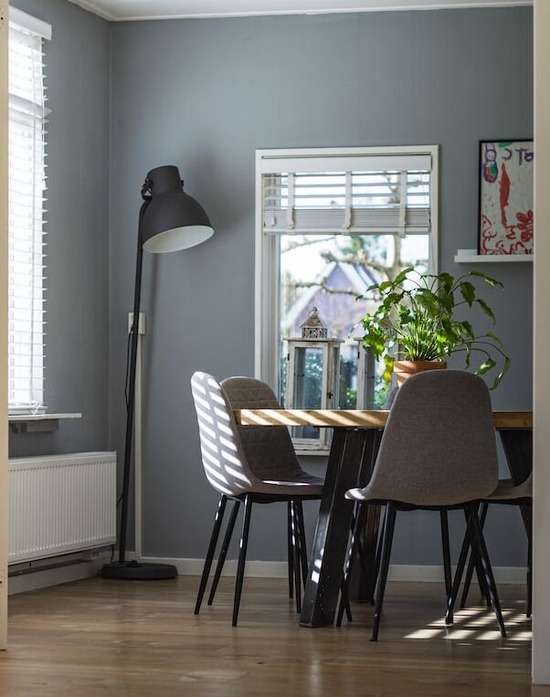 Over time, constant sun exposure will fade, discolor, and otherwise damage a wood floor.
A few steps can be taken to remedy this problem.
Consider hanging blinds or drapes on the window and close them during the times when the sun is strongest.
If you’d rather be able to see out the window, consider placing furniture and rugs in strategic places to block the direct sunlight. Lay a large area rug across that sunny spot on the floor, or put a couch and coffee table there. However, furniture can fade too, so you might also consider rotating the furniture and rugs.
A final option is to use a UV-protective finish on the floor. This prevents the sun from harming the wood beneath.
7. Refinish the floor every few years
It’s inevitable. After a while, depending on the level of use your floor gets, the finish will begin to dull. The good news is this can be easily remedied. You can arrange for a professional cleaning and apply a new coat of wood floor finish to bring your floor back to life.
Or, you can make it a DIY project.
Before refinishing it, if you notice a lot of deeper scratches, you may want to consider re-sanding the wood.
Sanding is usually a three-pass process, and sometimes more, depending on the condition of the floor.
Start with a coarser grain of sandpaper and work your way to a finer grit. A common one for newer floors is 40-60-100.1 This means you’d start with a 40-grit sandpaper, then sand again with a 60-grit, and finish off with a 100-grit.
However, if your floor is old or has a lot of deep scratches, you may want to start with a grain like 30 or even 24. This will take some of the wood off, but it will smooth out scratches and dents.
When you’re recoating your floor, the array of finishes might be bewildering. It depends on what kind of sheen you want your floor to have, but great options exist for both high-traffic areas and less-used floors.
If your floor is used 24/7, consider a durable finish like water- or oil-based polyurethane.2 This is durable and relatively inexpensive.
Penetrating oil sealer is a good option for low-traffic floors. It’s not very durable, but it really brings out the grain and look of the wood. Covering it with wax will help it last longer.3
After your wood floor has been refinished, it will be as good as new and provide you with many more years of service.
Is proper maintenance enough to ensure a long-lasting floor?
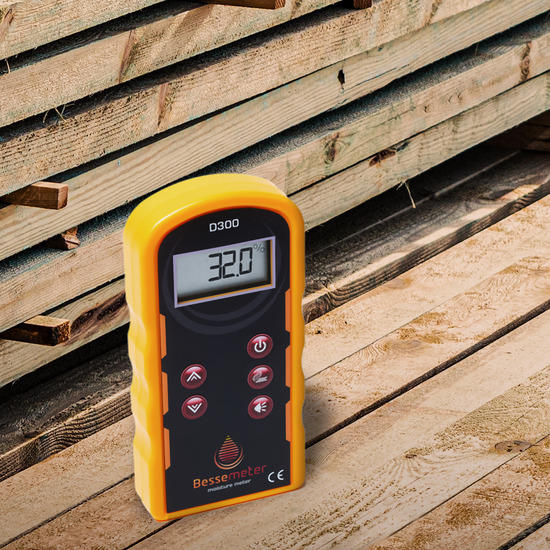 Regular maintenance makes sense if you wish to add years to the life of your wood floor. But is it enough? Turns out, managing moisture levels at installation may be just as important.
Think about the critical role moisture and relative humidity levels play in the proper care of your wood floor. What if you neglect to pay enough attention to moisture right up front—at the time of your floor installation?
For instance, what if the wood floorboards aren’t allowed to acclimate properly to the inside environment (think temperature and relative humidity)? Or what if you fail to account for the moisture condition of the subfloor?
Simple. Expect to run into one or more moisture-related problems. Maybe even a costly repair or replacement of the floor.
The solution?
We recommend you use a high-quality wood moisture meter to test the moisture content of the wood before and during installation.
If you’re looking for a solid meter backed by great customer service, then look no further! Shop our moisture meter product page today.
And for more on protecting hardwood flooring,
2. “These Are the 8 Best Finishing Options for Hardwood Floors,” First Atlanta Flooring. [↑]
3. Ibid. [↑]
